


< Back to the Photography Museum Cameras
Canon EOS R6 Mark II
I’ve always wanted, but could never justify, a full-frame (ILC) interchangeable-lens camera. For many years, I also prioritized compactness and portability over camera speed and marginal image quality gains.
When Canon introduced the EOS R-series in 2018, I looked on with interest. I waited patiently for the R-series to mature to the point were an enthusiast grade body would have the right balance of features and price for me.
The EOS R6 Mark II is that camera. I think it is the perfect Swiss Army knife of a body and a class leader at this price point.
Features that interested me:
- IBIS (in-body image stabilization)
- 6k oversampled full-sensor 4k 60fps 10-bit 4:2:2 C-Log 3 internal video
- 24 megapixel full-frame sensor (I actual don’t want more megapixels which would negatively impact speed and video performance)
- DIGIC X Processor (same as EOS R31)
- 12 fps mechanical shutter, 40 fps electronic shutter
- Subject detection (people, eyes, animals, vehicles) and tracking borrowed from the flagship EOS R31
In 2020 I started shooting video seriously for the first time (though the subject, RC cars, is not that serious). Thus I was keen to have a full-frame MILC hybrid camera that would last me for years to come.
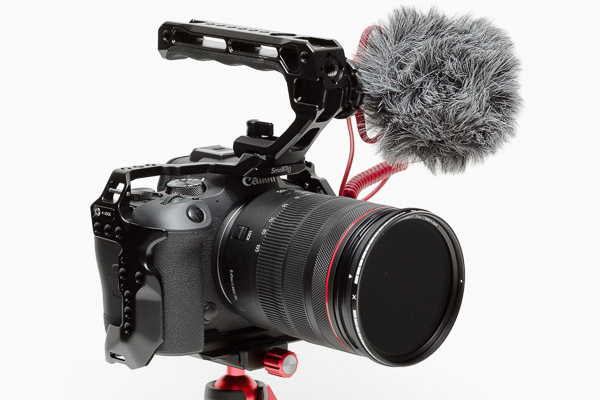
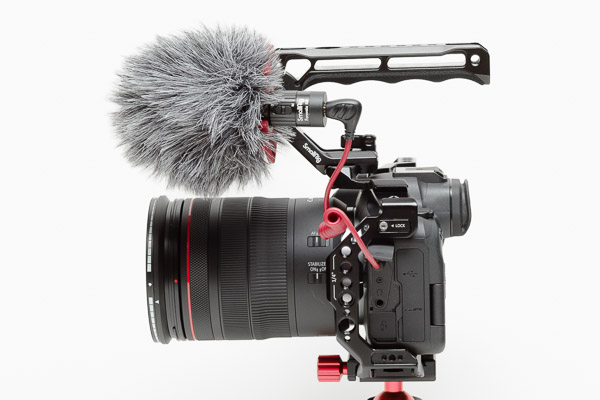
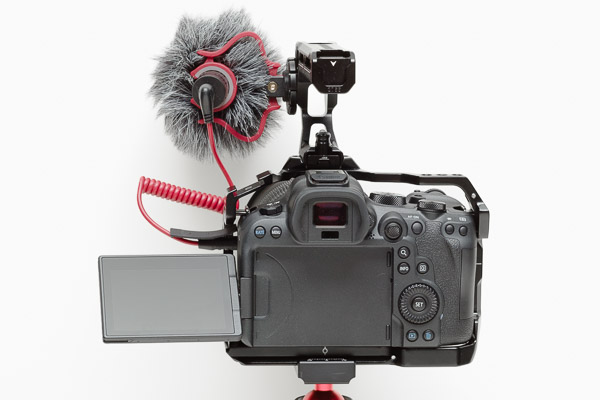
I purchased the EOS R6 Mark II with a RF 24-105mm ƒ/4 L IS USM lens and BG-R10 Battery Grip. I also kitted it out with a SmallRig cage, top handle, external microphone, tabletop/low-angle tripod, and other accessories for shooting video.


I have been shooting with the camera as much as possible, but of course it is still mid-winter, so I haven’t done as much video work as I would like. I plan to purchase a few faster prime lenses to make handheld video easier (the RF 24-105mm is a bit chunky) and may invest in a gimbal and external monitor/recorder eventually.
Some of my favourite minor refinements that just make shooting with the the EOS R6 Mark II almost a joy:
- The ability to assign different AF (auto-focus) configurations to different buttons. I have the AF-ON button configured as my main back AF button. I have the * button configured to switch to Single AF Point focus area, enable Auto Subject Detection if it is not already on, and to start Whole Area Servo AF Tracking. I have other buttons configured to start/stop Whole Area Tracking and to cycle through the available focus areas.
- Though the camera does not have built-in GPS, it is continuously connected to my iPhone via Bluetooth LE and receives location information in real-time from the Camera Connect app, in the background. The camera does lose the phone connection if I use the stand-alone Bluetooth remote, but that is okay. If I really need GPS data and a remote I can just use the Camera Connect app remote function. Alternatively, the camera still works with the ageing GP-E2 hot-shoe-mounted GPS receiver, or I can use a GPS track from my watch to tag photos in post-production. (The camera can also be continuously connected to Wifi, which would be great in a studio situation).
- There are two auto–white-balance modes: AWB and AWB-W (white priority). I always find that AWB (Canon’s and Apple’s) under-compensates when shooting under warm lighting conditions, probably because people prefer a warmer image. I don’t mind a slightly warm image, but have never used AWB because I find it too warm. Now, with AWB-W, the camera is much more aggressive about removing warm casts, resulting in a much more accurate colour rendition.
- When switching to Custom WB in the Quick Settings screen, I can press the trash button and then take a quick WB reading with the shutter button (no file is created of the WB scene). This is so much faster than the old EOS M-series method of taking an actual photo (which would be saved on the card), navigating to the Custom WB menu item, and then loading the saved photo to get a WB reading. Since I have been shooting around snow lately, I have been finding myself taking regular readings as lighting conditions change, despite the fact that I shoot RAW and can always adjust the WB in post. I generally use the ETTR (expose-to-the-right) exposure methodology and an RGB histogram, so having accurate WB in-camera actually helps me to better determine exposure.
At this point, any enthusiast grade or better camera is capable of taking amazing photos, but it’s these little things that making shooting easier, more flexible, and thus pleasant.
Another neat feature is the OVF (optical viewfinder) simulation mode. This turns off Exposure Simulation and the Histogram, but really does make the viewfinder more DSLR-like. I haven’t used it much, but would likely use it in walk-around street photography situations for a change of pace. I’d have to get used to setting exposure with the over/under indicator, something that is very foreign to me at this point.
So far I am happy with this camera, though I struggled to get inspired with it at first. I do miss the compactness of my EOS M5. When/if we ever travel again it will be a challenge to decide which camera to bring along.
Some year, when I have a little extra money, I might buy a small APS-C censored EOS R-series body to replace my M5 (which is still perfectly adequate for everything except video). On the other hand, I might save up some money and invest in a EOS R5 Mark II (I assume the R3’s BSI — back-side illuminated — stacked sensor technology will soon trickle down to other full-frame bodies).
Footnotes
- In fact the R6 Mark II is more similar to the R3 than to the R5. The main things the R6 Mark II lacks are Eye Control, the BSI stacked sensor, the faster internal recording of the CF Express Type B card slot, ethernet, and built-in GPS. The R3 with built-in grip and larger battery is actually 28 grams lighter than the R6 Mark II with grip attached and two LP-E6NH batteries! This is amazing considering that the R3 also is a robust alloy body.


