
I am not quite sure how it happened, but at some point I started a knife collection. Even when I was a kid and just had my first Victorinox Swiss Army Knife, I appreciated that a knife is not just a crude tool of pure utility but has historical and aesthetic components as well.
Like any tool, a knife can be just a sharpened hunk of metal, in which case its form likely interferes with its function, or it can be a perfect embodiment of its intended purpose, in which case its form and function are likely perfectly cohesive and nothing can be added or taken away from the knife to improve its performance.
I am not a fan of baroque knives with aesthetic design elements added for no other reason than to show of the supposed skill of the maker. I prefer knives in which function dictates form. The knives which draw my attention tend to be simpler in appearance, though their form has been honed by a hundred or a thousand years of cultural development. Often these knives, such as those from Scandinavia, are the product of a culture where resources were scarce, needs simple, and survival the paramount motivator.
I have my share of folding multi-tools (Victorinox and Leatherman mostly), but those I do not categorize as knives in the purest sense of the word. To me they are miniature toolboxes and have there place for repair and maintenance of mechanical gear (bikes, boats, skis, etc.) In other situations (skinning, cutting, chopping, carving), a simple rigid blade and handle is usually the best tool for the job. In this post I am showcasing just a few of these fixed-blade knives.
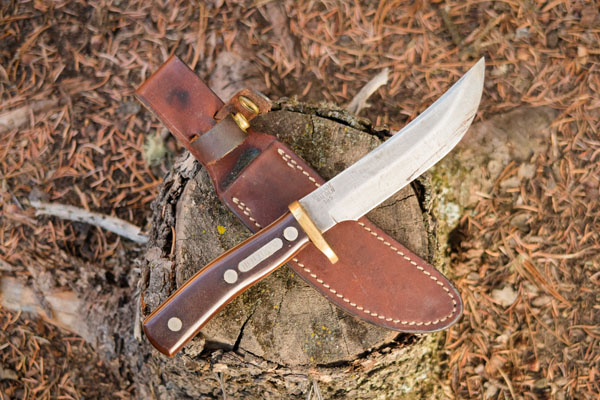
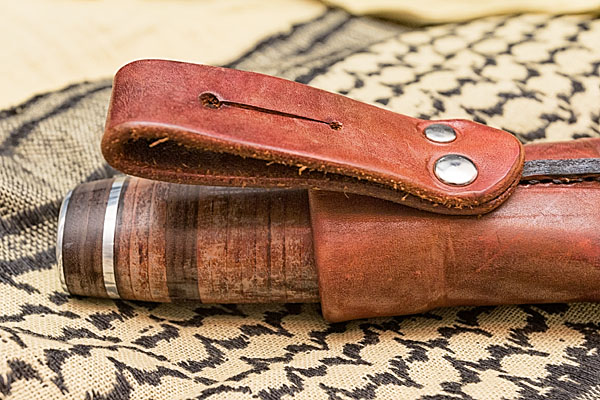
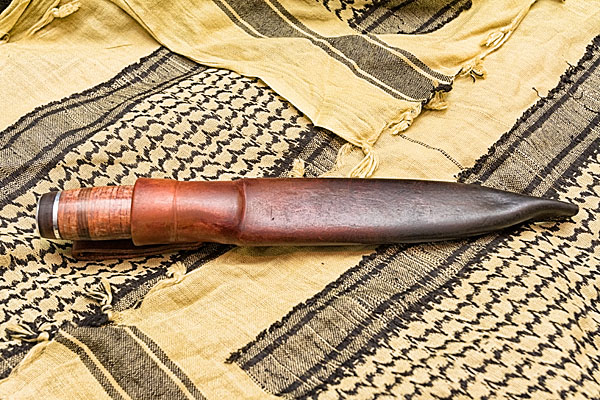
Schrade Walden 165 Old Timer Hunting Knife
My dad brought out this old knife a few days ago. I remember it fondly as the camp knife in our car-camping kitchen outfit from when I was a kid. Our family has never hunted and we wouldn’t carry something this big on backcountry trips, but it was always there in our car-camping gear. Looking at it after I all these years I thought to myself, “This knife has cut a lot of potatoes!”
My dad said he remembers buying it at the “old hardware store”, which probably means the local hardware store on the West Side of Bowness, near where I grew up. (Remember local hardware stores, before the days of Home Depot? If you do you might now be considered old by a vast majority of the population.) According to information I found on BladeForums, non-serialized versions of this knife, with the stamp on the right-hand side of the blade and the sheath strap around the handle, date from around 1973 or later. This makes sense considering my parent’s moved into their house in the spring of 1974 — the year I was born.
The knife is in great shape and still incredibly sharp. The sheath is very well made and in good condition too.
This knife could still be a regular “user”, but for now this 40+ year-old knife is hanging on the wall of our cabin as a collector’s item. Maybe I will use it every once in a while to cut some potatoes.

[table th=”0″]
Item,Schrade Walden 165 Old Timer (circa 1974)
Price,US$60 to US$120 on eBay
Pros,”solid blade, nice comfortable handle shape, heavy-duty sheath”
Cons,”heavy (full tang), and not so great in cold weather”
Summary,”A nice collector’s knife and still a great heavy-duty performer.”
Rating,[rating=4]
[/table]
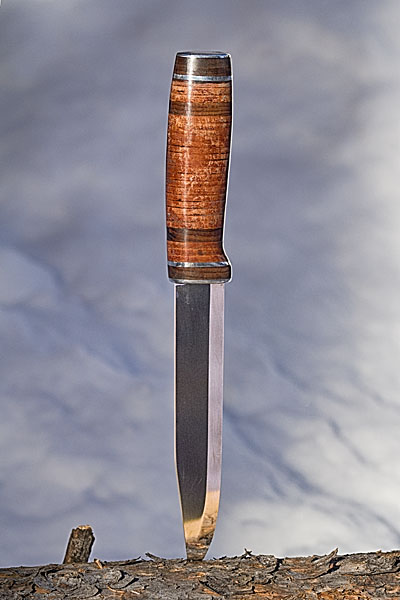
Lapin Puukko Whittling Knife
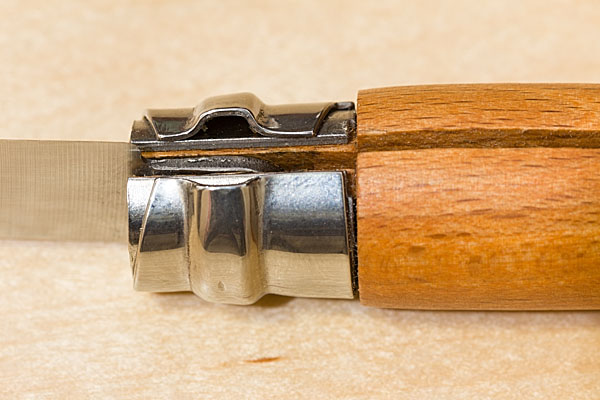
I got this compact little fixed-blade Finnish knife a few years ago from Bushcraft Canada. The blade size and shape is great for detail work, but a bit small for general use. However, the blade is incredibly sharp and durable and the handle has a great shape which fits perfectly in my medium- to large-sized hand. I wish I had more time to work with this knife.


[table th=”0″]
Item,Lapin Puukko Whittling Knife
Price,C$99
Pros,”amazingly sharp blade, ground to a fine point for detailed whittling, comfortably shaped handle”
Cons,”handle really only allows one holding position”
Summary,”A super-sharp whittling knife, but not a great option for an all-around knife.”
Availability,Bushcraft Canada
Rating,[rating=4]
[/table]
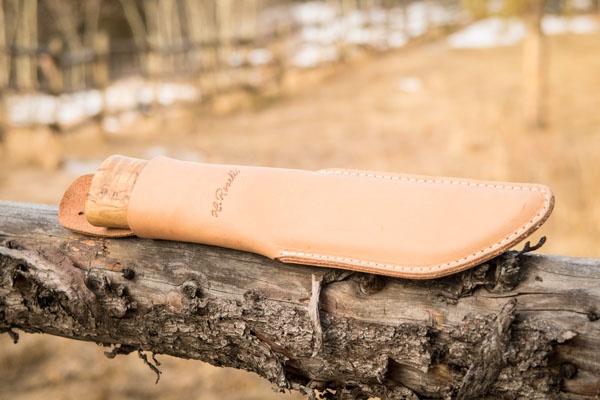
Roselli Leuku
Another Bushcraft Canada purchase. This knife is at the opposite end of the spectrum from the Lapin Puukko Whittling Knife. This is a big 10″ knife, with a fat 5 3/8″ blade. (Roselli make an even larger version with a 7 1/4″ blade!)
The leuku is the traditional knife of the Sami people who live in northern Scandinavia. In much of the traditional Sami territory, trees, if there are any, are not very large. This knife fills the role of axe, hunting knife, and all-around tool. The big handle is good for use with gloves.
I have been carrying mine around our property a lot this winter. We had a snowstorm in September that bent or broke a lot of small aspen. One or two light chops with this knife and a trail is easily cleared. I also cut and dressed some small teepee poles in very little time with this knife. Where a smaller knife would require a lot of force to do the same work, the inertia of the weighty leuku does most of the work once the knife is moving. Delicate work can be performed by choking up and holding the knife by the spine. When chopping, let the knife slide forward so you are gripping the flared pommel/butt with just your pointing and index fingers and your thumb.
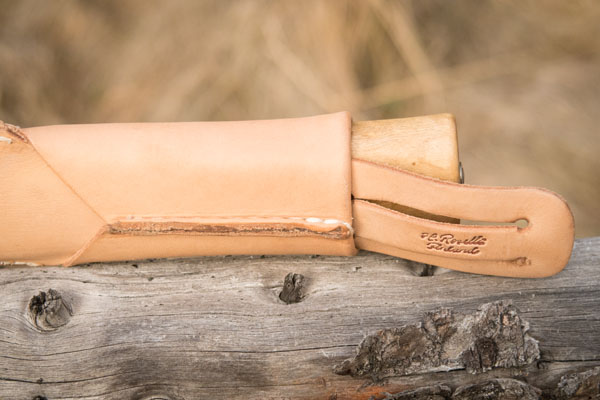
I like Roselli’s unique sheath configuration — very simple and secure. As with most Scandinavian knife sheaths, the leuku sits deep in the sheath and is held with simple friction. No fumbling with snaps with gloved hands in -30°C, and the knife is not going to just fall out on its own — an important consideration in a traditional culture where your knife is your only tool and the key to survival in many situations.

[table th=”0″]
Item,Roselli Leuku
Price,C$150
Pros,”solid blade, oval cross-section symmetrical handle accommodates multiple holding positions, nice sheath”
Cons,”none”
Summary,”A big knife. Good for chopping or limbing small trees. Great with gloves and in cold weather.”
Availability,Bushcraft Canada
Rating,[rating=5]
[/table]


