I’d previously written about my growing axe collection. I recently re-hung a couple of older axes and acquired two more Gränsfors Bruks axes. I’ve been meaning to document the collection and now seemed like a good time, even though I still anxiously await the arrival of my Base Camp X Artemis. (The Base Camp X Artemis has arrived and been appended to the end of the article. I guess the article title technically is “Nine Axes And A Knife” now.)
The axes (and knife) are presented in chronological order of acquisition. Click the pictures to see larger versions.
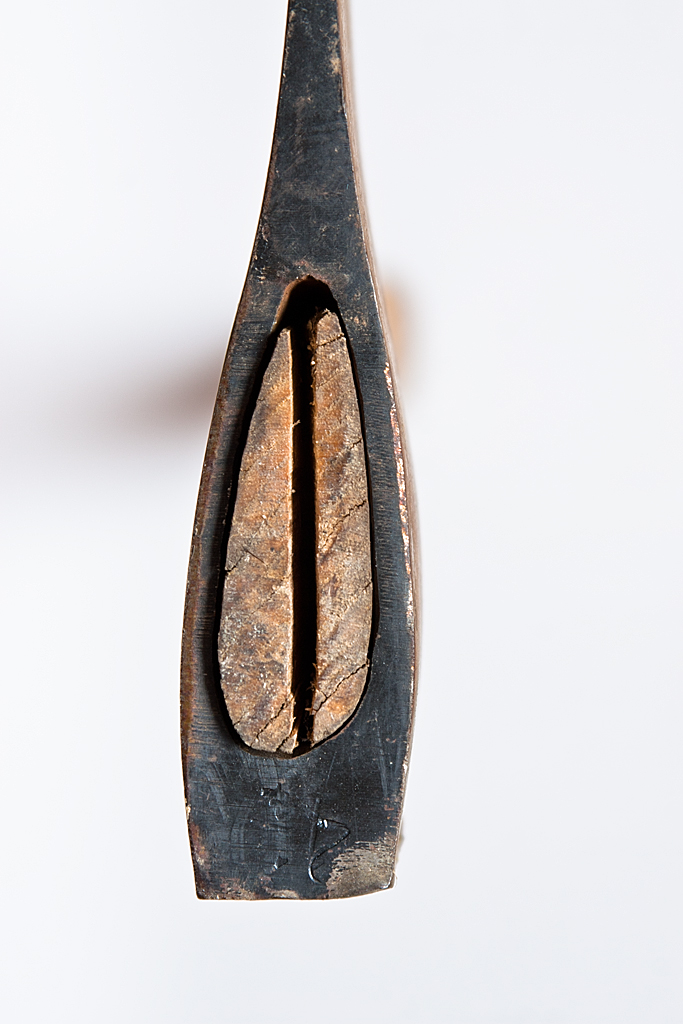
Man’s Axe (26″)
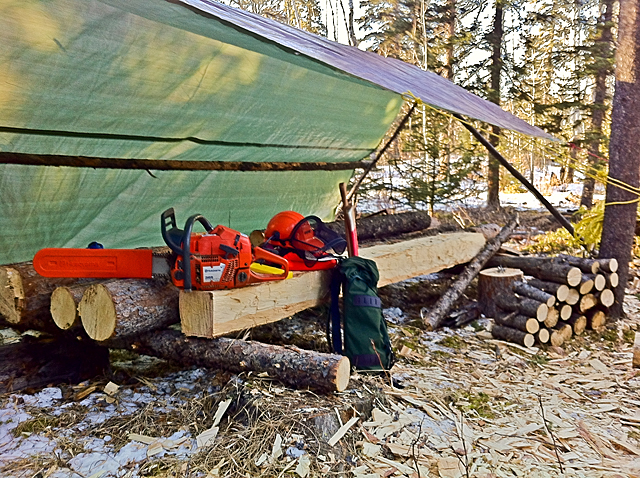
This is the first axe I ever acquire. I bought it at Canadian Tire when I was in university and doing a lot of car camping. From the beginning the head was annoyingly loose, though not dangerously so. Last week I finally got fed up and decided to either fix the handle or hang a new one. I drilled out the old wedge (which I think was bottoming out and not providing a tight fit). I managed to knock the handle out of the head. I sanded the black paint from the head and removed the lacquer finish from the handle. I affixed a new wedge and soaked the eye-portion of the handle in boiled linseed oil overnight. Then I covered the rest of the handle in boiled linseed oil and, finally, gave it a wax finish. I filed some nicks out of the bit and honed it to a razor-sharp edge. I haven’t had a chance to split any large pieces of wood with the restored axe yet. Time will tell if the new hang will remain solid.
I used to refer to this axe as a hardware-store special. I recently discovered the convention of marketing 24″+ axes as a Man’s axe versus shorter axes, usually in the 18″ range, which have been marketed as Boy’s axes. Though a bit hokey, I like the sound of these labels. Presumably, I’ll someday be giving my son (or daughter) their first Boy’s axe (or Girl’s axe), and they will know when they’ve come of age when they graduate to the Man’s axe (or Woman’s axe).


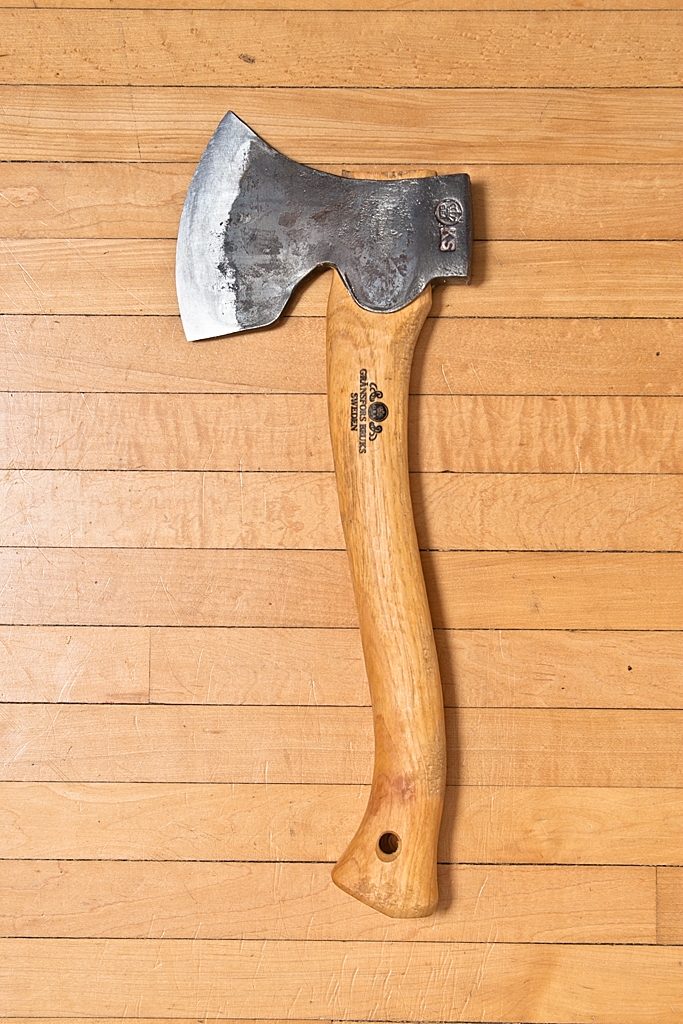
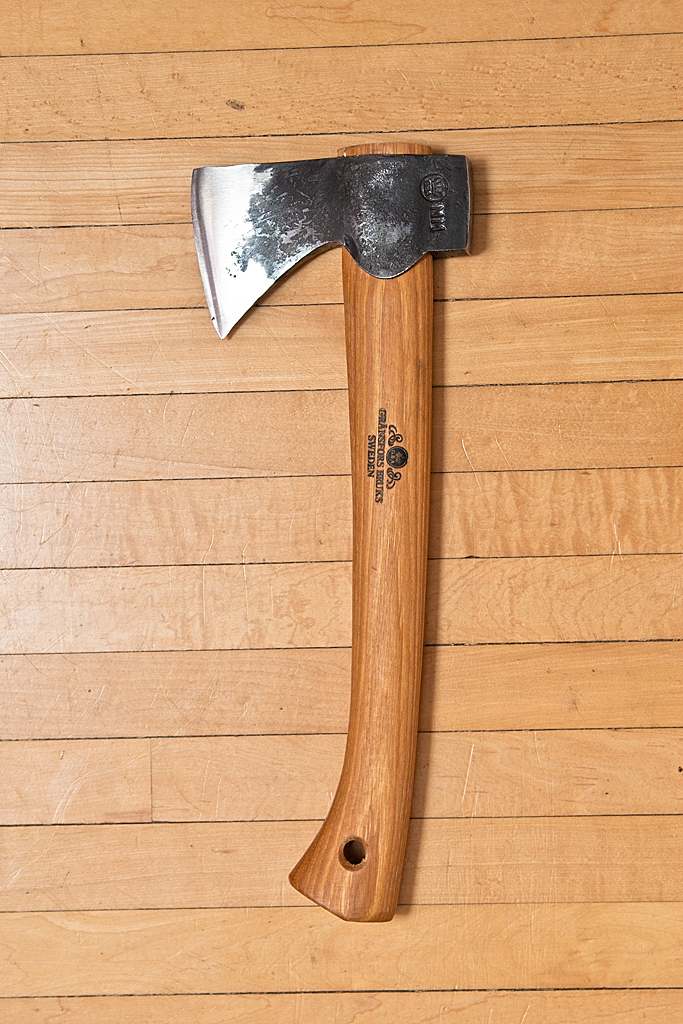
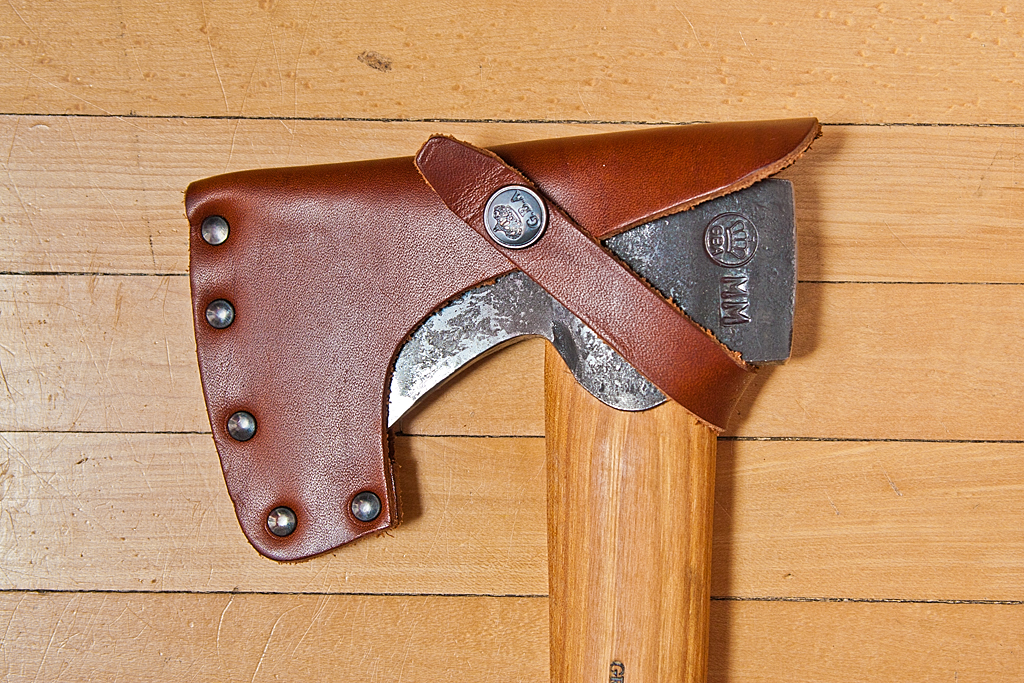
Gränfors Bruks Swedish Carving Axe
My first serious axe and the beginning of an obsession. This single-bevel (right-handed) cuts through knots like butter. Choking up on the handle provides amazing control and thus held this axe can be used much like a knife.


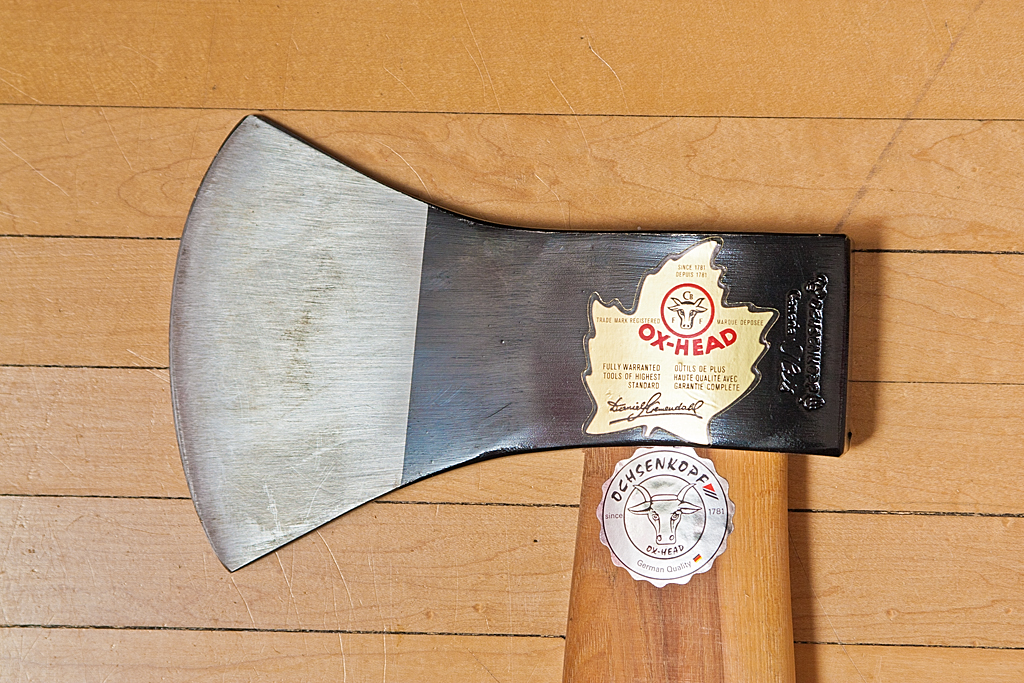
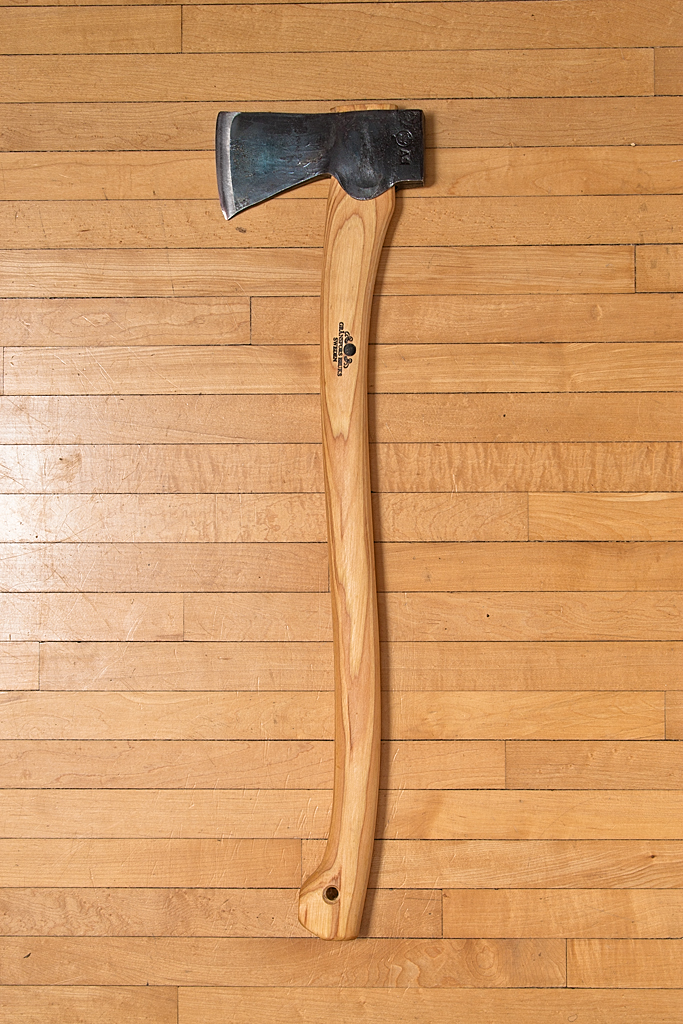
Iltis (Ox Head) Felling Axe (35″)
Time for some serious tree dropping power. The thin bit profile cuts through trunks and limbs like butter. Hasn’t seen too much action, as the wind does most of the felling for me at the cabin.


Oeyo Liten Viking Øks
This little axe, measuring in at just 10.5 inches long, is a replica of a Viking axe and was a gift to me from my wife after a recent visit to Geilo, Norway. Honestly, I haven’t used it yet. It’s just too cute and may never touch wood, which would be a shame because it is wonderfully balanced and sharp as heck.


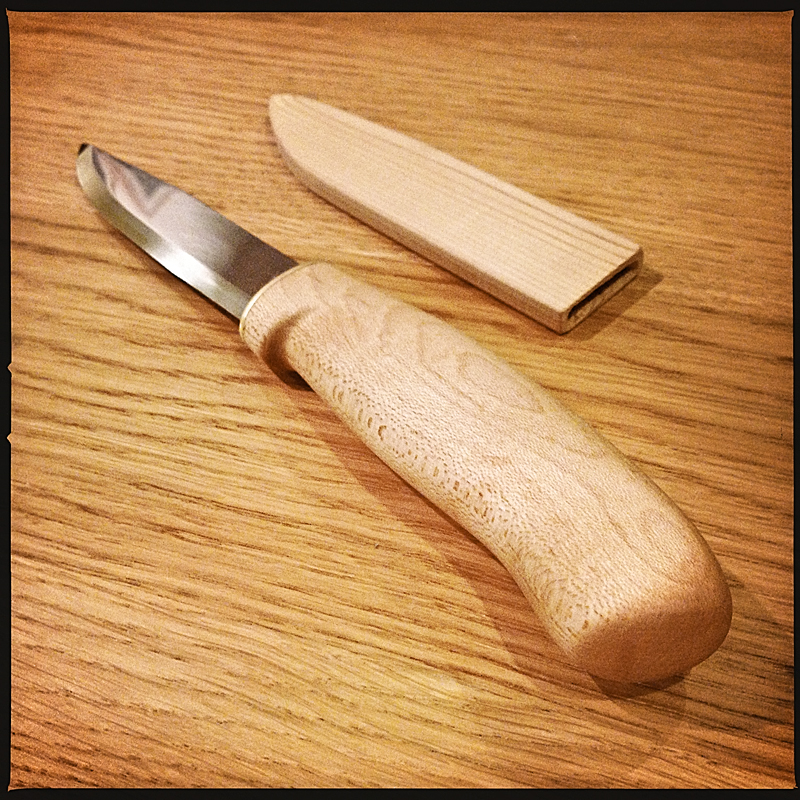
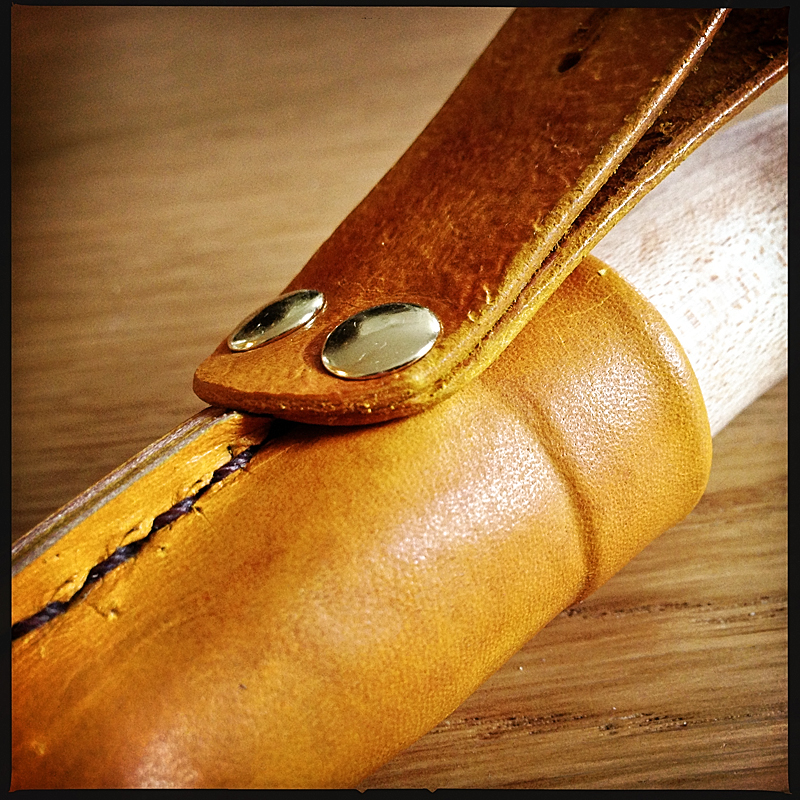
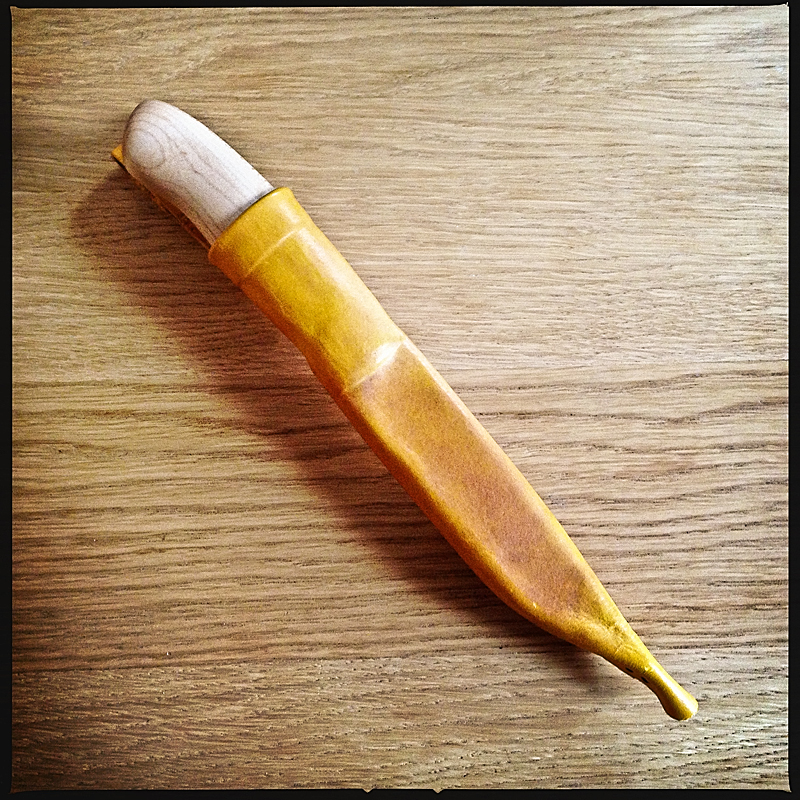
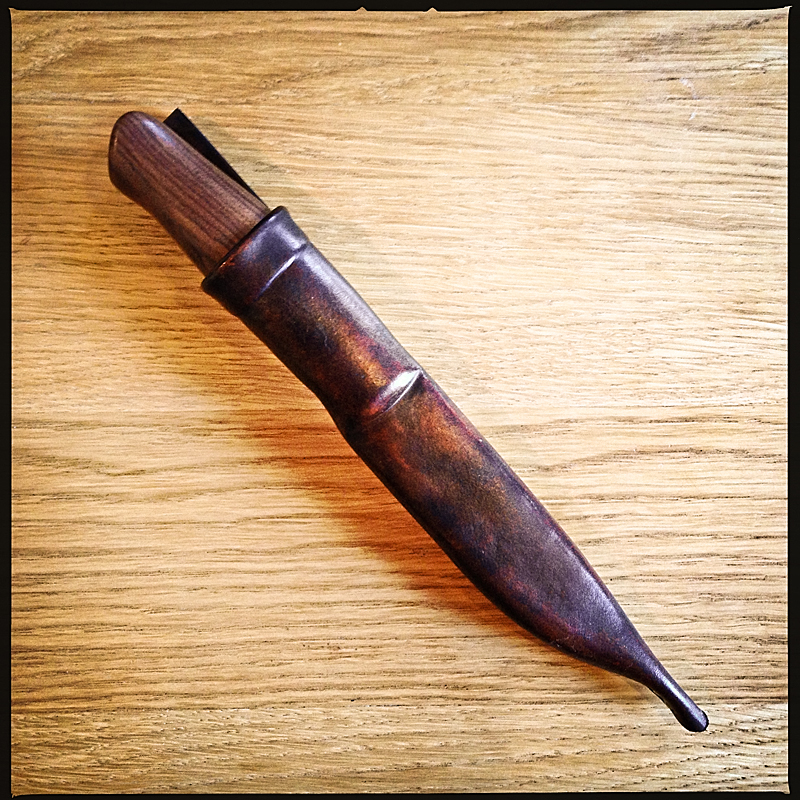
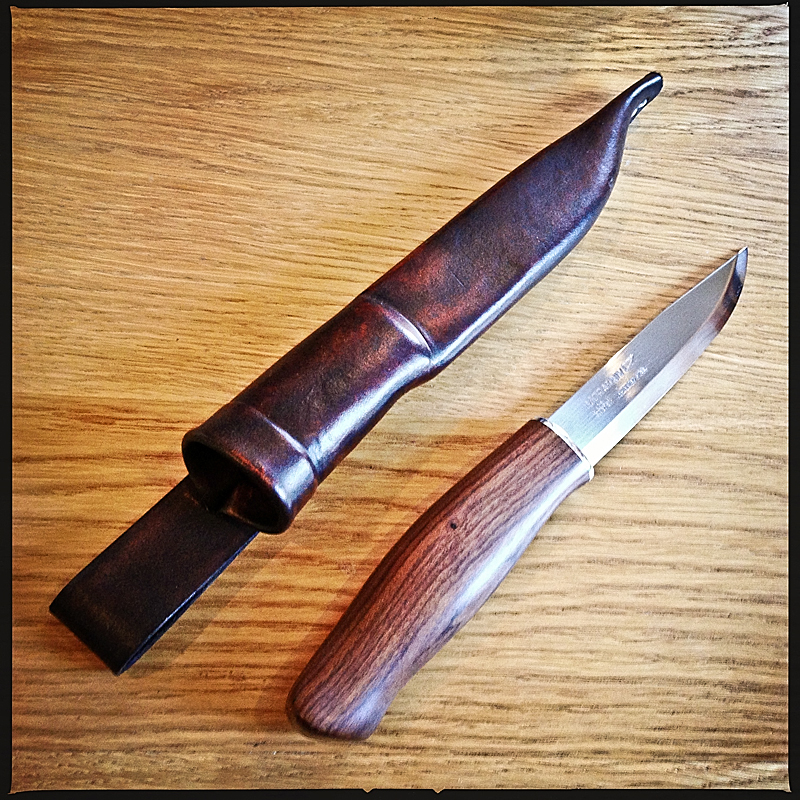
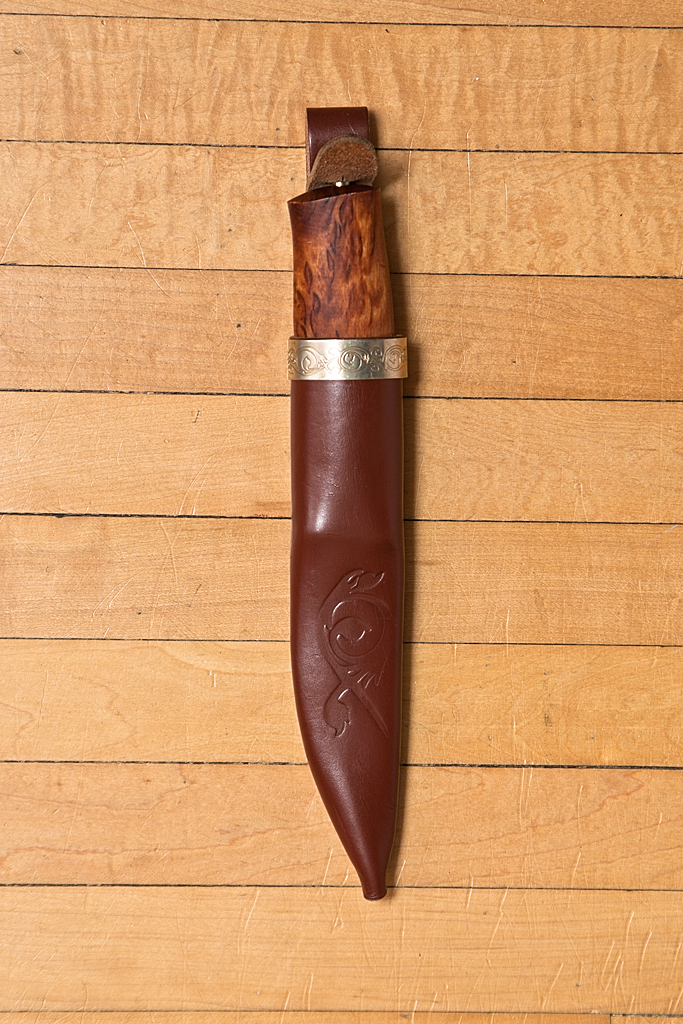
Brusletto of Norway
My wife also brought back this awesome knife from Norway. Amazing steel. Amazing handle. Amazing sheath. This is a great utility knife which I have used mostly for carving.


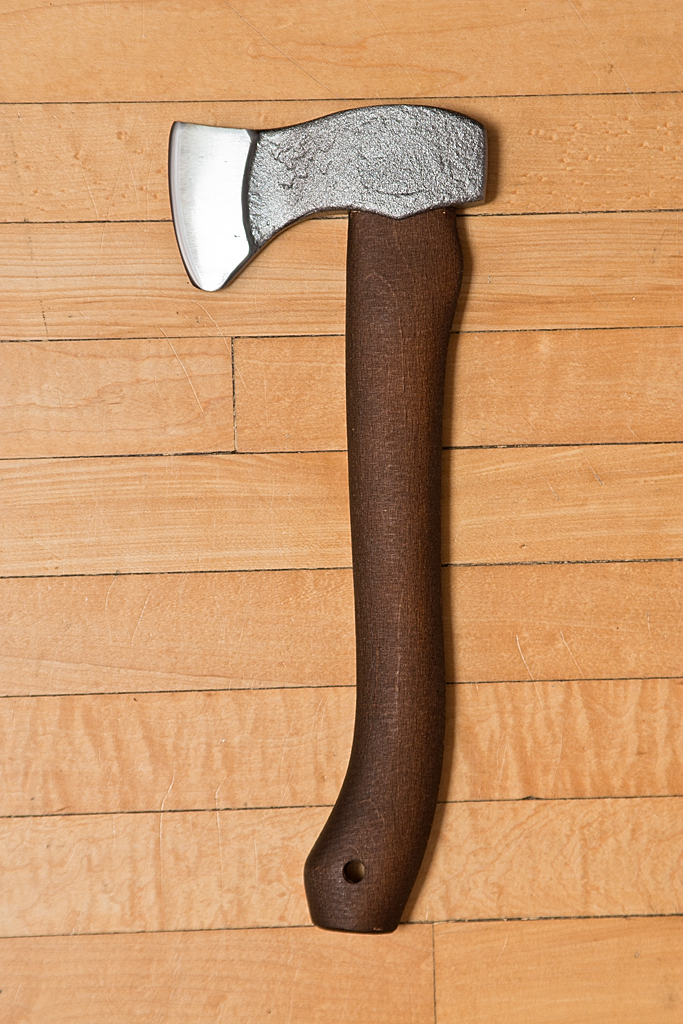
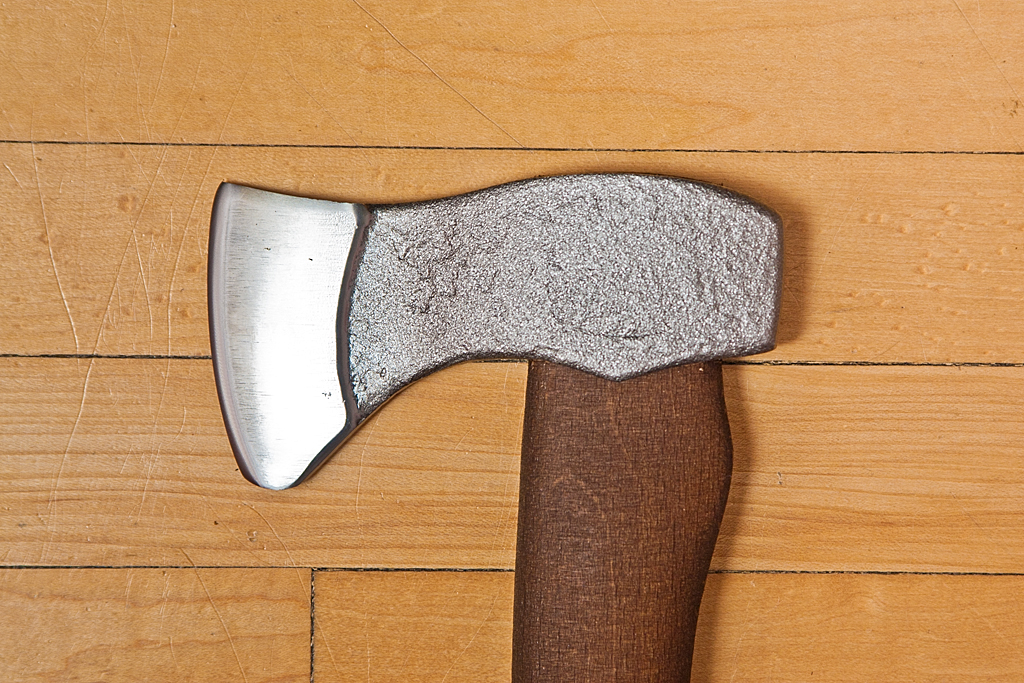
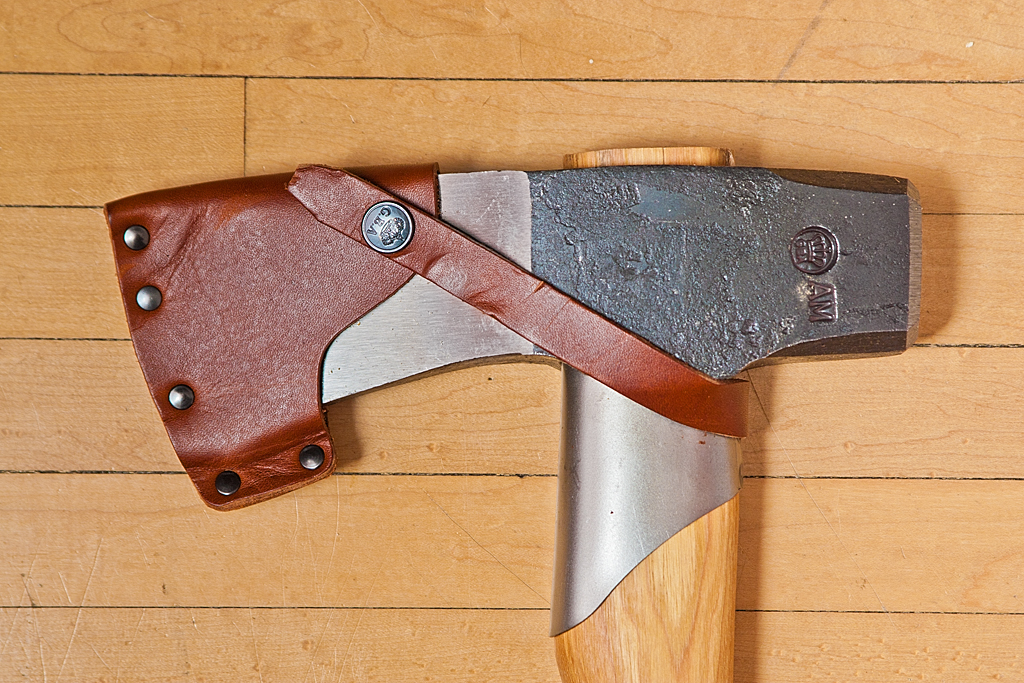
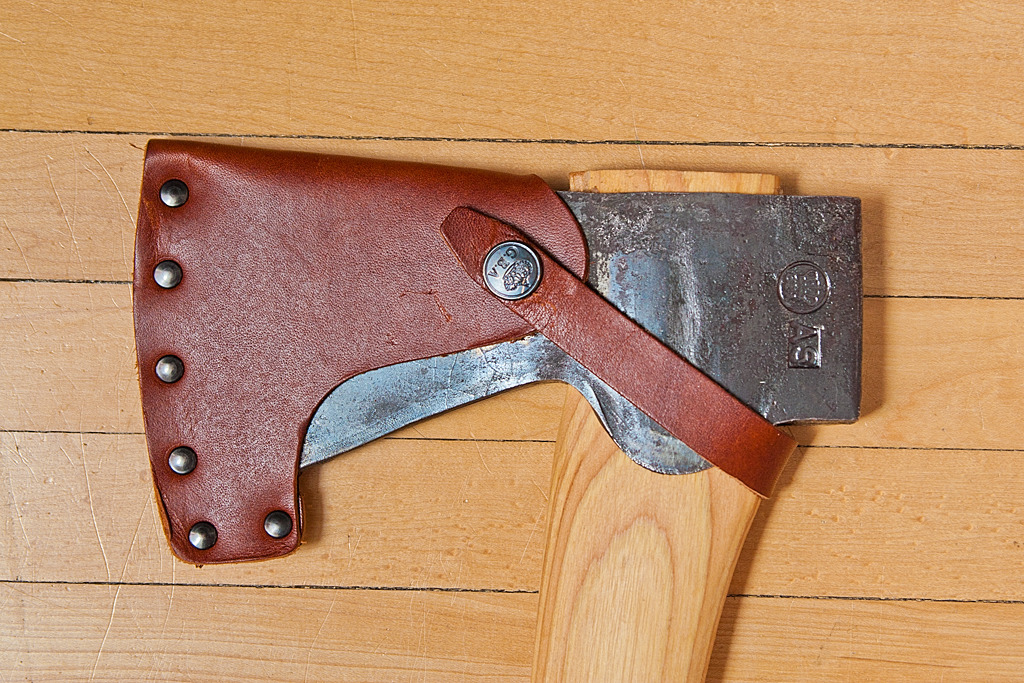
Gränfors Bruks Hatchet
A few years ago I a bought no-name fiberglass handled hatchet. It works, but it ain’t pretty and the oversized plastic grip is not very comfortable. I didn’t really need this Gränsfors Bruks hatchet, but I wanted it. It sits by the fireplace and cuts all my kindling. It’s also so light it would be a great choice for a backpacking trip.


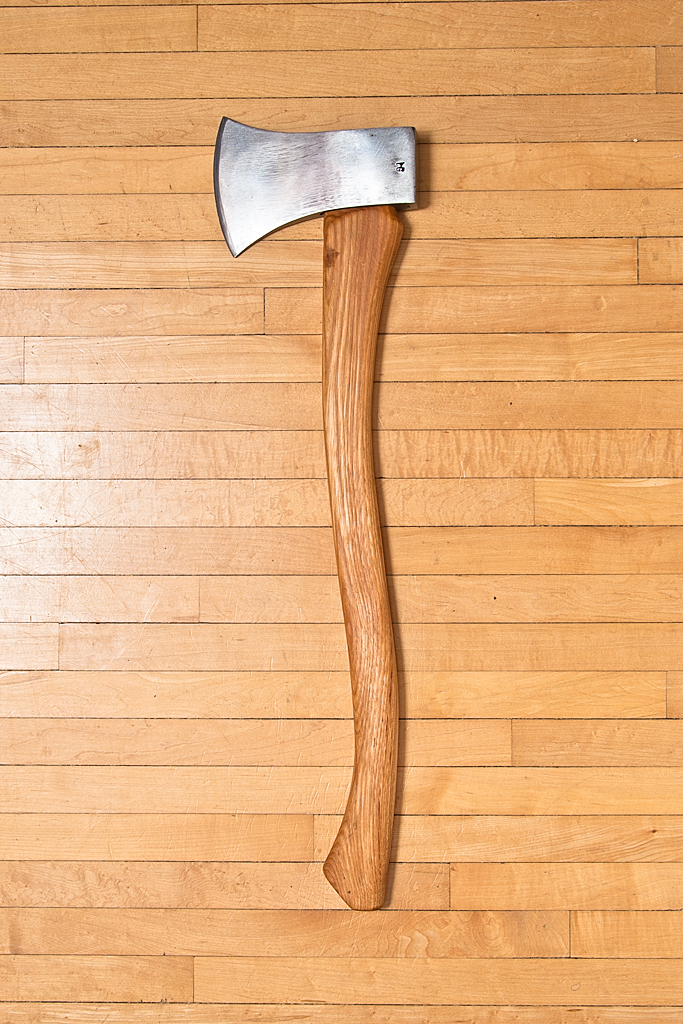
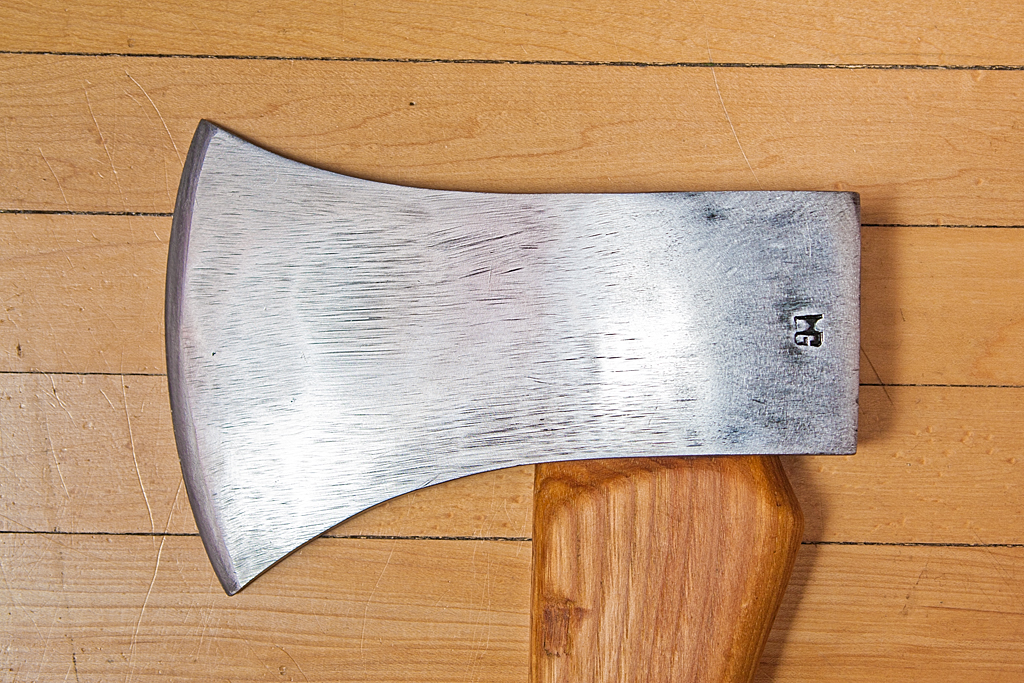
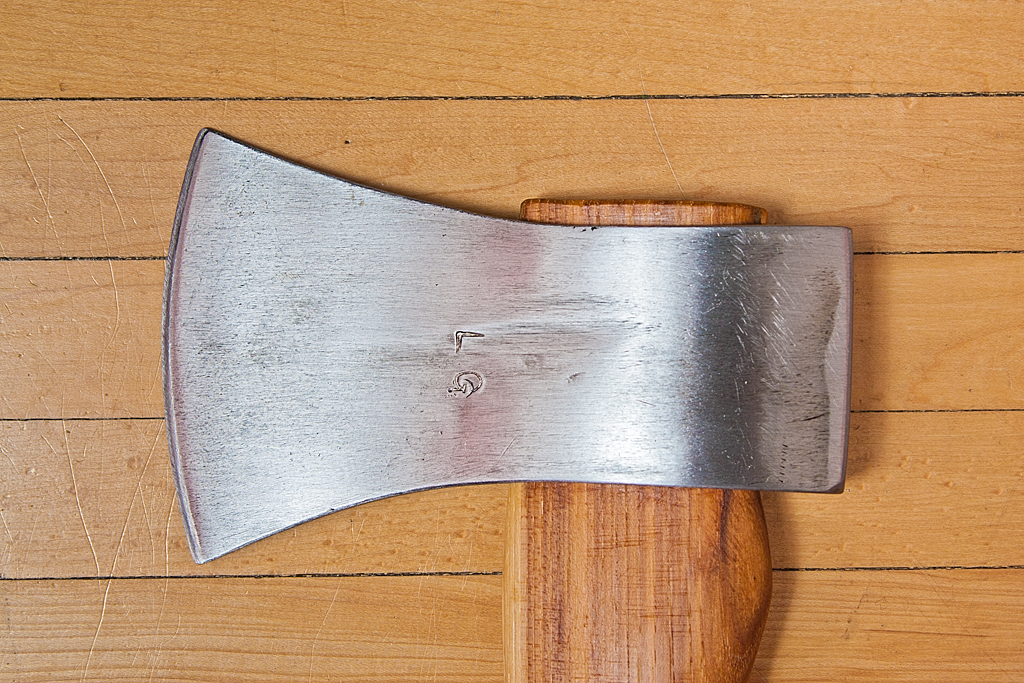
Gränfors Bruks Forest Axe
This is one of my two most recent axe acquisitions. My frustration with hardware store axes led me to this all-purpose tool. I really debated whether or not to get it (okay, I didn’t debate that hard). It kind of duplicates the Artemis that is on its way, but has a totally different aesthetic. The grain of the handle is practically perfect. Someday I’ll own every one of Gränfors Bruks’ axe models (see next entry).


Gränfors Bruks Splitting Maul
This is the second of my two most recent axe acquisitions. A splitting maul is not a delicate instrument. It uses mass and an aggressive wedge to rip wood fibres apart, violently. We have a fibreglass handled splitting maul at the cabin. It works, but lacks in the aesthetics department, and, shockingly, the epoxy in the eye is cracking and the head is a bit loose.
I debated over the maul and one of Gränfors Bruks’ smaller splitting axes, which are about $50 to $70 cheaper. In the end I decided if you split 12″ diameter logs by hand, you want all the weight you can get. We do have a hydraulic splitter at the cabin, and that’s fine for when we have the whole family out working, fire-line-style, and want to fill the entire wood shed, but we run the hydraulics off the tractor which takes a few minutes to hook up, is loud, and, well, no one likes the smell of diesel exhaust. When I am out alone I can split a couple of days worth of wood faster with the axe.


Man’s Axe (28″)
This axe belonged to my brother. It lives out at the cabin. He used to just leave it outside on the deck all year-round. It was always within reach when you wanted to split a bit of wood from the stack by the house, but it was also exposed to the elements more than it should have been. The head was horribly loose, and was affixed with a manky, undersized wedge that looked like it might be too small for a carpenter’s hammer. The handle’s lacquer finish was half gone and the handle was starting to split in a few places. The bit was starting to rust. The only thing the axe had going for it was that it was sharp. I decided to show it some love and get it back into shape.
Before heading to the industrial supply shop for a new handle I took a rubbing of the eye for reference. After I took the rubbing I realized how terribly distorted the eye was. The poll had obviously been used to hammer (or been hammered by) something very hard, like a maul. An axe’s poll should never be used to strike hard objects. The poll will start to mushroom (like this one had), steel chips may break loose at high velocity, and eventually, the eye will fail. I debated whether or not the axe was already too far gone, but decided to fix it up anyway, even if only for sentimental reasons. Honestly, I think the head still has quite a few good years left in it.
One whack on the knob of the handle and the wedge fell on the floor. A few whacks with a piece of wood were all that were required to drive the old handle out of the eye. I sanded the rust off the head, and touched up the bit edge (it didn’t need too much work). It took quite a while to shape the handle with a rasp to fit in the distorted eye. Eventually I got it right and hammered the handle home and fixed the wedge. Again, I soaked the handle in boiled linseed oil up to the shoulder over night to swell the wood and get a nice tight fit. The result is practically unrecognizable compared to where it started.


Base Camp X Pioneer Artemis
What’s the saying? A dollar short and a day late. Well this axe came a day after I originally posted this article. Other than that I have no complaints.
The Base Camp X Pioneer is a substantial axe, with a 3.5 pound head and 30 inch handle. The handle is full-bodied. The knob is large and offers great control. The finish of the head is very nice, though the edge could have seen a little more care in honing. The black paint on the top and bottom of the head is a nice touch. I like the fact that the rest of the head is not painted. Let steel be steel. The finish on the handle is immaculate, from the metallic knob to the brand and wet-look lacquer clear-coat. A portion of the proceeds from the pink Artemis edition of the Pioneer is being donated to breast cancer research. Kudos to Graeme for a great idea.


Other Goodies
I have a growing collection of other log building tools (broad axe, adze, draw knives, log dogs, etc.) that I didn’t feel needed to be documented here, but which may be the subject of a separate post in the future.
Gallery